
When I shared the quilted bookmarks I'd made for our Little Free Library, I didn't really expect the response! Especially in the LFL Facebook group, there were lots of requests for a tutorial.
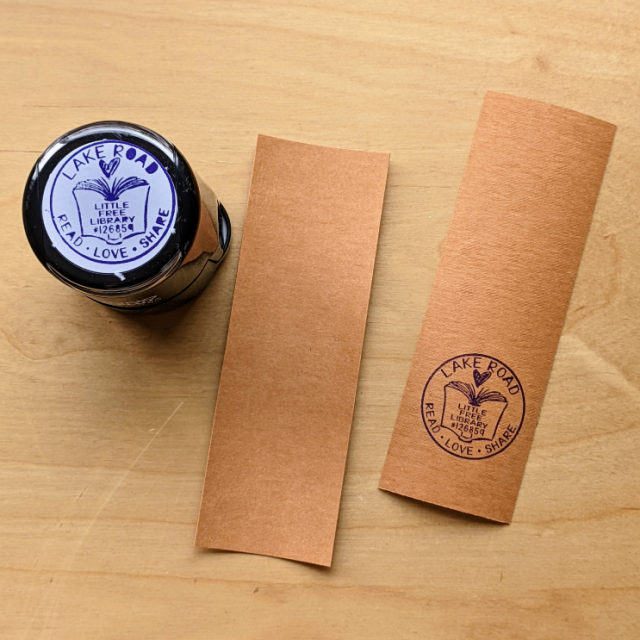
The idea started when my hubby and I got a personalized stamp for the books that pass through our Little Free Library, and we thought it might also be fun to offer bookmarks to our visitors along with the books. Soooo with a few scraps and a bit of kraft-tex, we came up with a prototype we thought might work.

Truth is, I'd had a roll of kraft-tex (a kraft paper fabric) in my stash that I had never tried, so when I was thinking of how to make the bookmarks, it seemed worth a try. For one, I could definitely stitch on it; and secondly, our personalized stamp would work nicely on it too. Here's how I made ours:
With a rotary cutter - the one reserved for cutting paper - I cut 2" strips along the edge coming off the roll. Then each strip was cut into 2" x 6" pieces - three cut from each strip. You'll need two pieces for each bookmark. If desired, decorate the 'back' of the bookmark as desired. If using a stamp, like we did, it's a good idea, though not absolutely necessary, to stamp a bunch and leave them for several hours to dry. I didn't on my first batch, and though the stamped back did not smear, it did leave some ink on my sewing machine, which easily washed off.
Note how, due to being rolled, the bookmark-sized pieces curve just a bit. That actually is an advantage, especially when it comes to the sewing. Otherwise the corners could get caught by the footplate and impede progress. Anyway, take strips of fabric - I used quilter's cotton - and cover the surface of the bookmark. Lay one strip down (the center piece in the photo below), then stitch another strip on either edge, right-sides together. Finger-press them both away from the initial piece.


