Showing posts with label potholders. Show all posts

Monday, April 27, 2026

Making Scrappy Potholders

A while back, my friend Linda @flourishingpalms said she'd appreciate a tutorial for how I make potholders - specifically the layering sequence of fabric, batting, and Insulbrite. Knowing I could quite easily provide that, I put it on my 'to do' list for 2026. Finally, when I was in the mood for some scrappy free-sewing last week, I knew the time had come.


Not all potholders need to be scrappy, of course. Feel free to use orphan blocks, or make any pattern you wish for the front. For the purpose of this tutorial, I sewed scraps together with the goal of two 8" square-ish potholders. I stopped piecing when my slabs were 9"-10" square.


Of course, then I needed backings. I opted to use larger sized scraps this time, though sometimes I choose a stashed print so the pair has matching backs.

I like my potholders quilted, so here's where the layering comes in. I place the backing right-side down, then top it with a layer of Insulbrite.


Next comes a layer of cotton batting.


And finally, the pieced slab is placed on top, right-side up. I like to baste the layers with a shot of spray baste, but feel free to baste in whatever way you like. It won't take much, since the quilt sandwich is so small. 


Now quilt as desired. Here too, it won't take much. I often like straight lines or a grid, often following the lines of the piecing OR marked with a hera marker. Below are examples of the type of quilting I usually do, from a batch of scrappy potholders I made back in 2022.

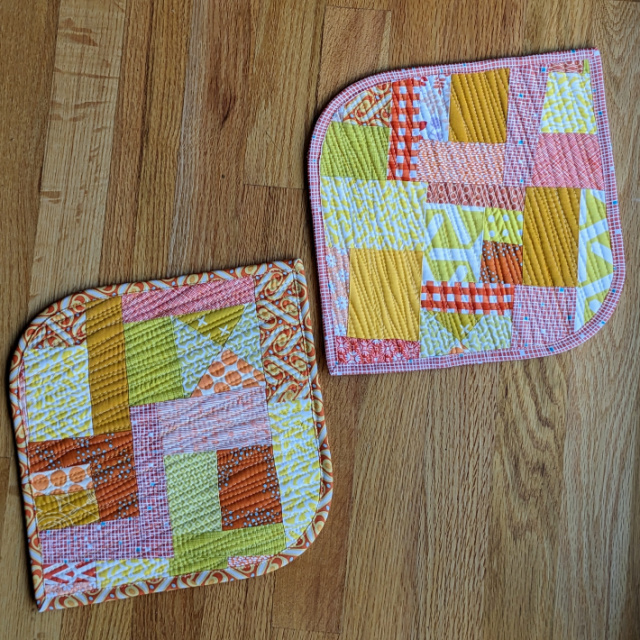
And below is how I quilted this pair.


Though I've made potholders in a variety of shapes, these days I almost always trim them with the unique shape I saw Hannah Haberkern @verdigrissewing use several years ago. For my template, I drew an 8" square on copy paper, then rounded two opposite corners. The nice thing about making your slabs a little larger than needed is that you can choose the orientation later in the process - straight on or angled.


For this pair, I chose angled.

Once trimmed into a square, I use a marking pen to trace the rounded corners, and then cut along those lines with scissors. I just get a neater corner that way than with a rotary cutter.


Then it's time to bind! Though maybe not quite necessary, I like to use bias binding on these. About 42" of binding is plenty for each one. Though I often use 2" binding for hand-binding quilts, I like 2.25" wide for potholders, as I tend to sew it completely by machine. Machine sew onto the back, then fold over to the front. When machine-binding, I find frequent use of wonder clips to be a big help in keeping things in place.


So once they're bound, they're done! 


I hope you find this tutorial helpful! Let me know if there are any questions. And I sure hope you enjoy making some of your own. I find them a terrific way to use some scraps!


Friday, November 28, 2025

The Potholder Project

It all began when we were in Eastern Washington earlier in the month, celebrating an early Thanksgiving with family. My niece and her husband were hosting, and wouldn't you know, she was using potholders I'd made over the years. She'd managed to snag THREE sets in the various family gift exchanges - these (in 2012!), these, and these. Which was great, but. They were, by now, very very worn and not looking their best anymore. Long story short, I ended up bringing home a stack of partially-made potholders that needed quilting and binding, and a stack of insul-brite ready and cut to size. I'd offered to finish the ones my niece had started, and make some new ones, so I had my job cut out for me, no pun intended. Here are the ones I finished by quilting and binding, ones intended as gifts for her camping friends:


As for the rest, I was left to my own devices, so I chose a variety of fabrics and designs.


Yay! They all finished about 8.5" square, and are ready to ship off to my niece to gift and to use. Potholders are so fun to make, I'm always happy to make more.

Tuesday, November 19, 2024

It's the Little Things

Last year on International Scrap Sorting Day, I actually managed to sort my print scraps by color, though I chose not to press any of them or cut them into any particular sizes. And that's how things have remained, and it's been fine. Though I didn't really participate on the day this year, other than play with piecing scraps together, it was the impetus to make several small projects.

First up was a set of four orange and black potholders.


With two round 'corners,' and two square, they are my favorite potholder shape. I put the same backing on all of them, a favorite orange print from my stash, the same as some of the scraps on the front.


And then I actually used some charm squares to make a lined drawstring bag to hold my older granddaughter's birthday gift. After miscutting my lining fabric, I ended up with a combo of the Simple Patchwork Drawstring Bag + Mini Accent Drawstring Bag variations from the Lined Drawstring Bag Expansion Pattern by Jeni Baker @jenib320. Actually, I'm quite happy with it, and might make this combo again on purpose!


This last make wasn't actually made from scraps, per se, but it seemed to fit the 'Little Things' category. And it's a Pop Open Pouch made for my daughter-in-law, Lindsey @lindsjeske, who we happily got to celebrate with on her birthday this year. The pattern is one by Aneela Hoey @aneelahoey, and is actually one of my very favorite zipper pouch patterns to make and to use.


So all three of those projects were most enjoyable to make. Now back to finishing up a quilt back for my Like, Totally BOM quilt and this month's Block Studies Collective project, which I have yet to start. Onward.

Wednesday, March 15, 2023

Bombazine and More

With my own 100 Day Project being all about using scraps, I settled in to make several gifts, namely Bombazine oven mitts and potholders.

A friend had gifted me with her generous selection of embroidery thread which she could no longer use, and obviously a hand-made thank you gift was necessary. I'd been wanting to try the Bombazine Mitt from Bombazine for a while, and that with a coordinating potholder seemed perfect.

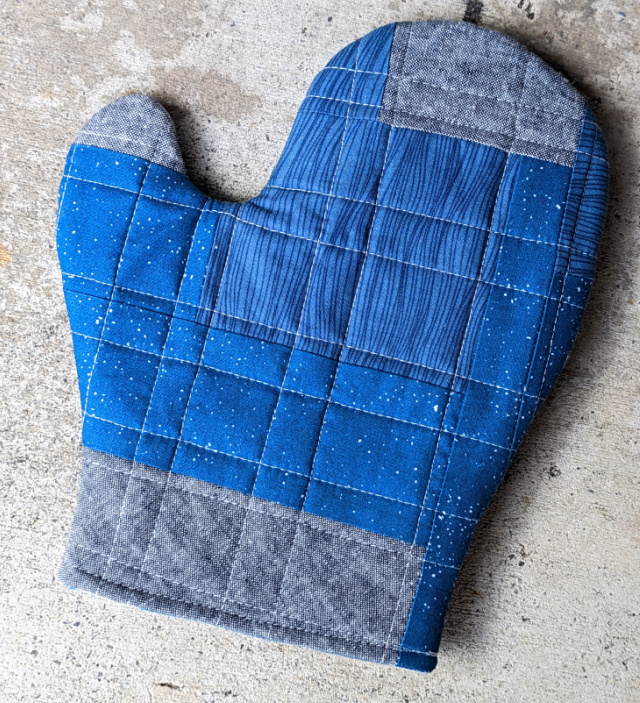
The mitt came first, pieced with various scraps, enhanced with a bit of hand-stitching using some of the floss I'd been gifted, and finished with a leather 'hanger.'

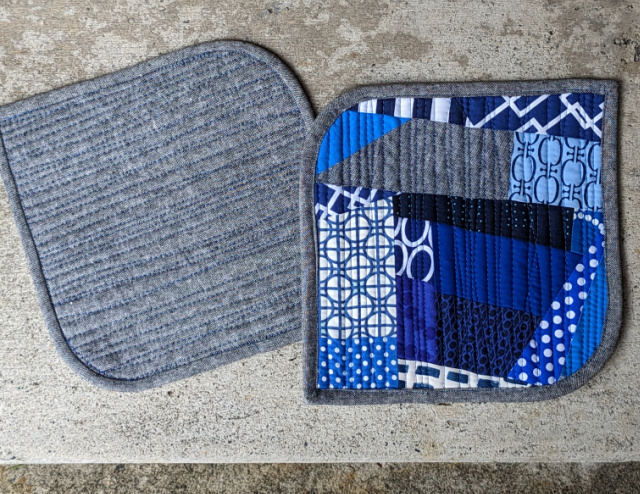
Then came the mitt, 8" square-ish, with the two rounded edges I'd seen Hannah @verdigrissewing do (and copied) last year.

Then mom, who had been a recipient of the great potholder giveaway last spring, randomly asked for another set - scrappy like the first, but larger. Per her request, the new set was made 10" square, equally handy as potholders or trivets. 


Though the fronts of all these projects were straight from the scrap basket, the backs were sometimes from stash - still trying to use the smaller pieces that linger there.


Then I decided my brother might enjoy a Bombazine Mitt to use with the scrappy potholders he'd already gotten. A simple uneven grid was a fun way to quilt his mitt.


And last of this bunch, was a pair of potholders for my daughter, Rachel @snippetsofsweetness.... just because. I made them 8" like the originals, happy to have found at least a few scraps to include that I knew were her old favorites.


So I felt like a change of pace after all those, and you'll be surprised (I think) to see what I started pulling from the scrap basket next....