
This isn't a full-fledged tutorial with photos of every step, but those willing to take a gamble too, here's what I did, with all seams being 1/4":
1. Measure in front from table to top of thread holder - the tallest point of your machine. [front height]
2. Measure in back from table to top of thread holder - the tallest point of your machine. [back height]
3. Measure widest portion of your machine. [width]
4. Measure deepest portion of your machine. [depth]
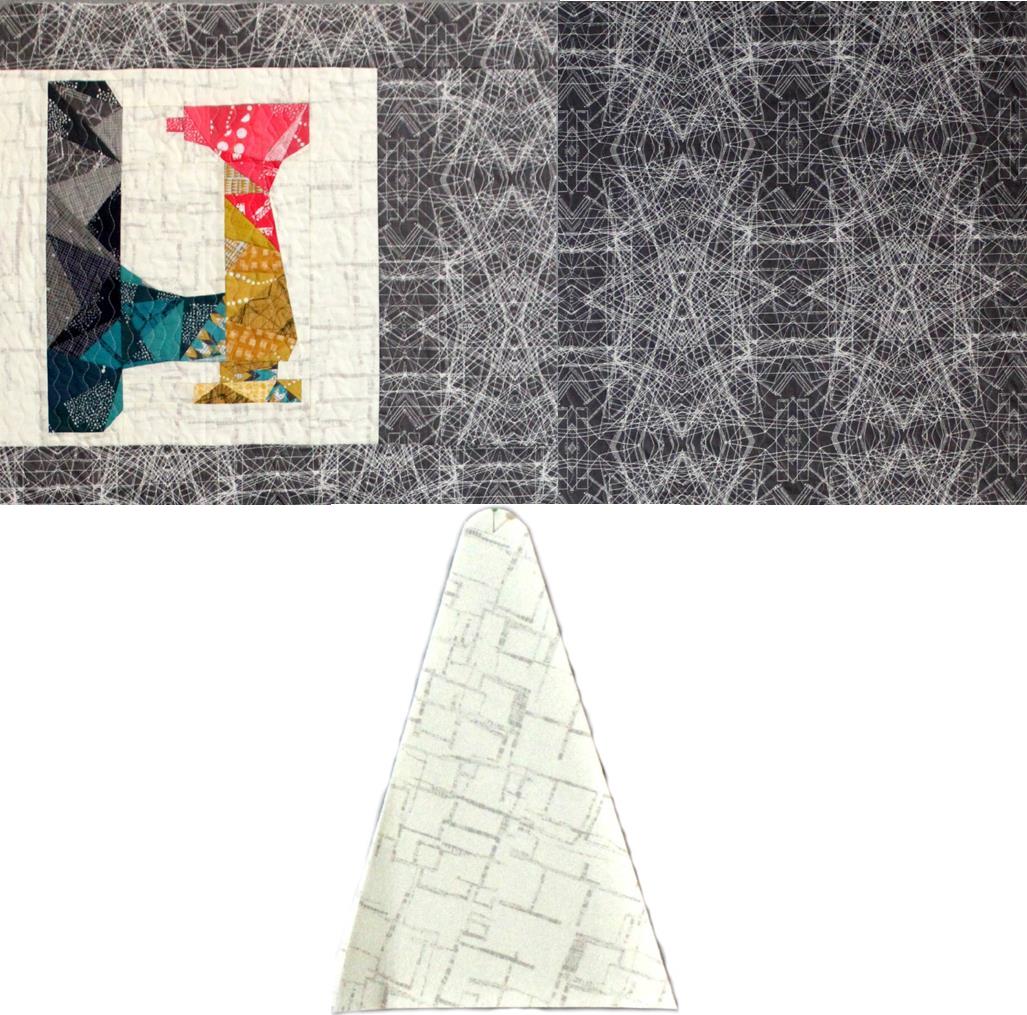
5. For the front panel, I added 1" to my front height and width measurements and framed my paper-pieced block to become that dimension. I placed it on top of a piece of cotton batting and quilted. (If you want to do dense quilting, or have more leeway, quilt your front panel before trimming to size.) Of course, any block or design as a focal would be fine or even a single fabric.
6. For the back panel, I added 1" to my back height and width measurements, placed it on top of a piece of cotton batting and quilted. (If you want to do dense quilting, or have more leeway, quilt your back panel before trimming to size.)
7. Sew front and back panels together along top edges and press open.

***Note that while I thought my front and back heights might make more of difference in how I assembled the final piece, it really didn't, so if I was to do this again, I'd probably make one long panel, as shown below.


10. For outside of cover, find center of panel piece on one side and mark with a pin (or marker). Fold one end piece in half lengthwise to find the center top, and mark it. I found it easiest to start sewing the pieces together at this point, down along one side of end piece. Then flip as needed and sew down the other side of the end piece. Repeat for opposite side. Now your outer cover is complete. If needed, trim any pieces necessary so the bottom edges are even all the way around. My trimming was minimal, but there was a bit.
12. Slip lining into outer cover so right sides are together. Pin along edges, matching corners. Sew seam around this edge, leaving an opening of 10-12" long back edges, back-stitching at beginning and end of stitching.
13. Turn entire piece right sides out, and tuck lining into cover, pressing edges well. Press seam allowance in at opening and pin. Top stitch along entire edge, catching seam allowances of opening securely.

So, I made it up as I went and it turned out ok! It is tall, but it serves the purpose well, and besides....this project was on my 2015 Q4 Finish-A-Long list!
For previous studio updates, see hashtag #aqtstudio on Instagram, or individual posts below:
- Ironing Board Cover
- Design Wall
- Mailing Supplies
- Storing Quilts
- Sewing and Cutting Surface
- Pressing Surface
Linking up with Sew Modern Monday.
I so need to make a cover for my machine and I love yours. Thank you for the tutorial, I have no excuses now.
ReplyDeleteLove it - thanks for sharing!
ReplyDeleteThis is @thezombiequilter btw... my phone mucked up my comment lol
DeleteThis turned out great! I always create my own pattern for things like this, then I know I'll get a perfect fit. I also love your mix of colors....and the way it coordinates with your Ikea cart and your cutting mat :)
ReplyDeleteIt looks great and what a perfect way to show off the beautiful front!
ReplyDeleteIt looks fabulous.
ReplyDeleteI love the paper pieced sewing machine! Great tutorial! My machine doesn't get super dusty - I wonder why?
ReplyDeleteThis looks great! I love your version of 'rainbow'! I need to make a cover for my serger!!!
ReplyDeleteI so wish, I could keep my sewing space nice and tidy like your photo! Thanks for sharing, I just bought the cone thingee!
ReplyDelete