Showing posts with label gift bag. Show all posts

Wednesday, April 24, 2024

The Last of the Mini Series Drawstring Bags

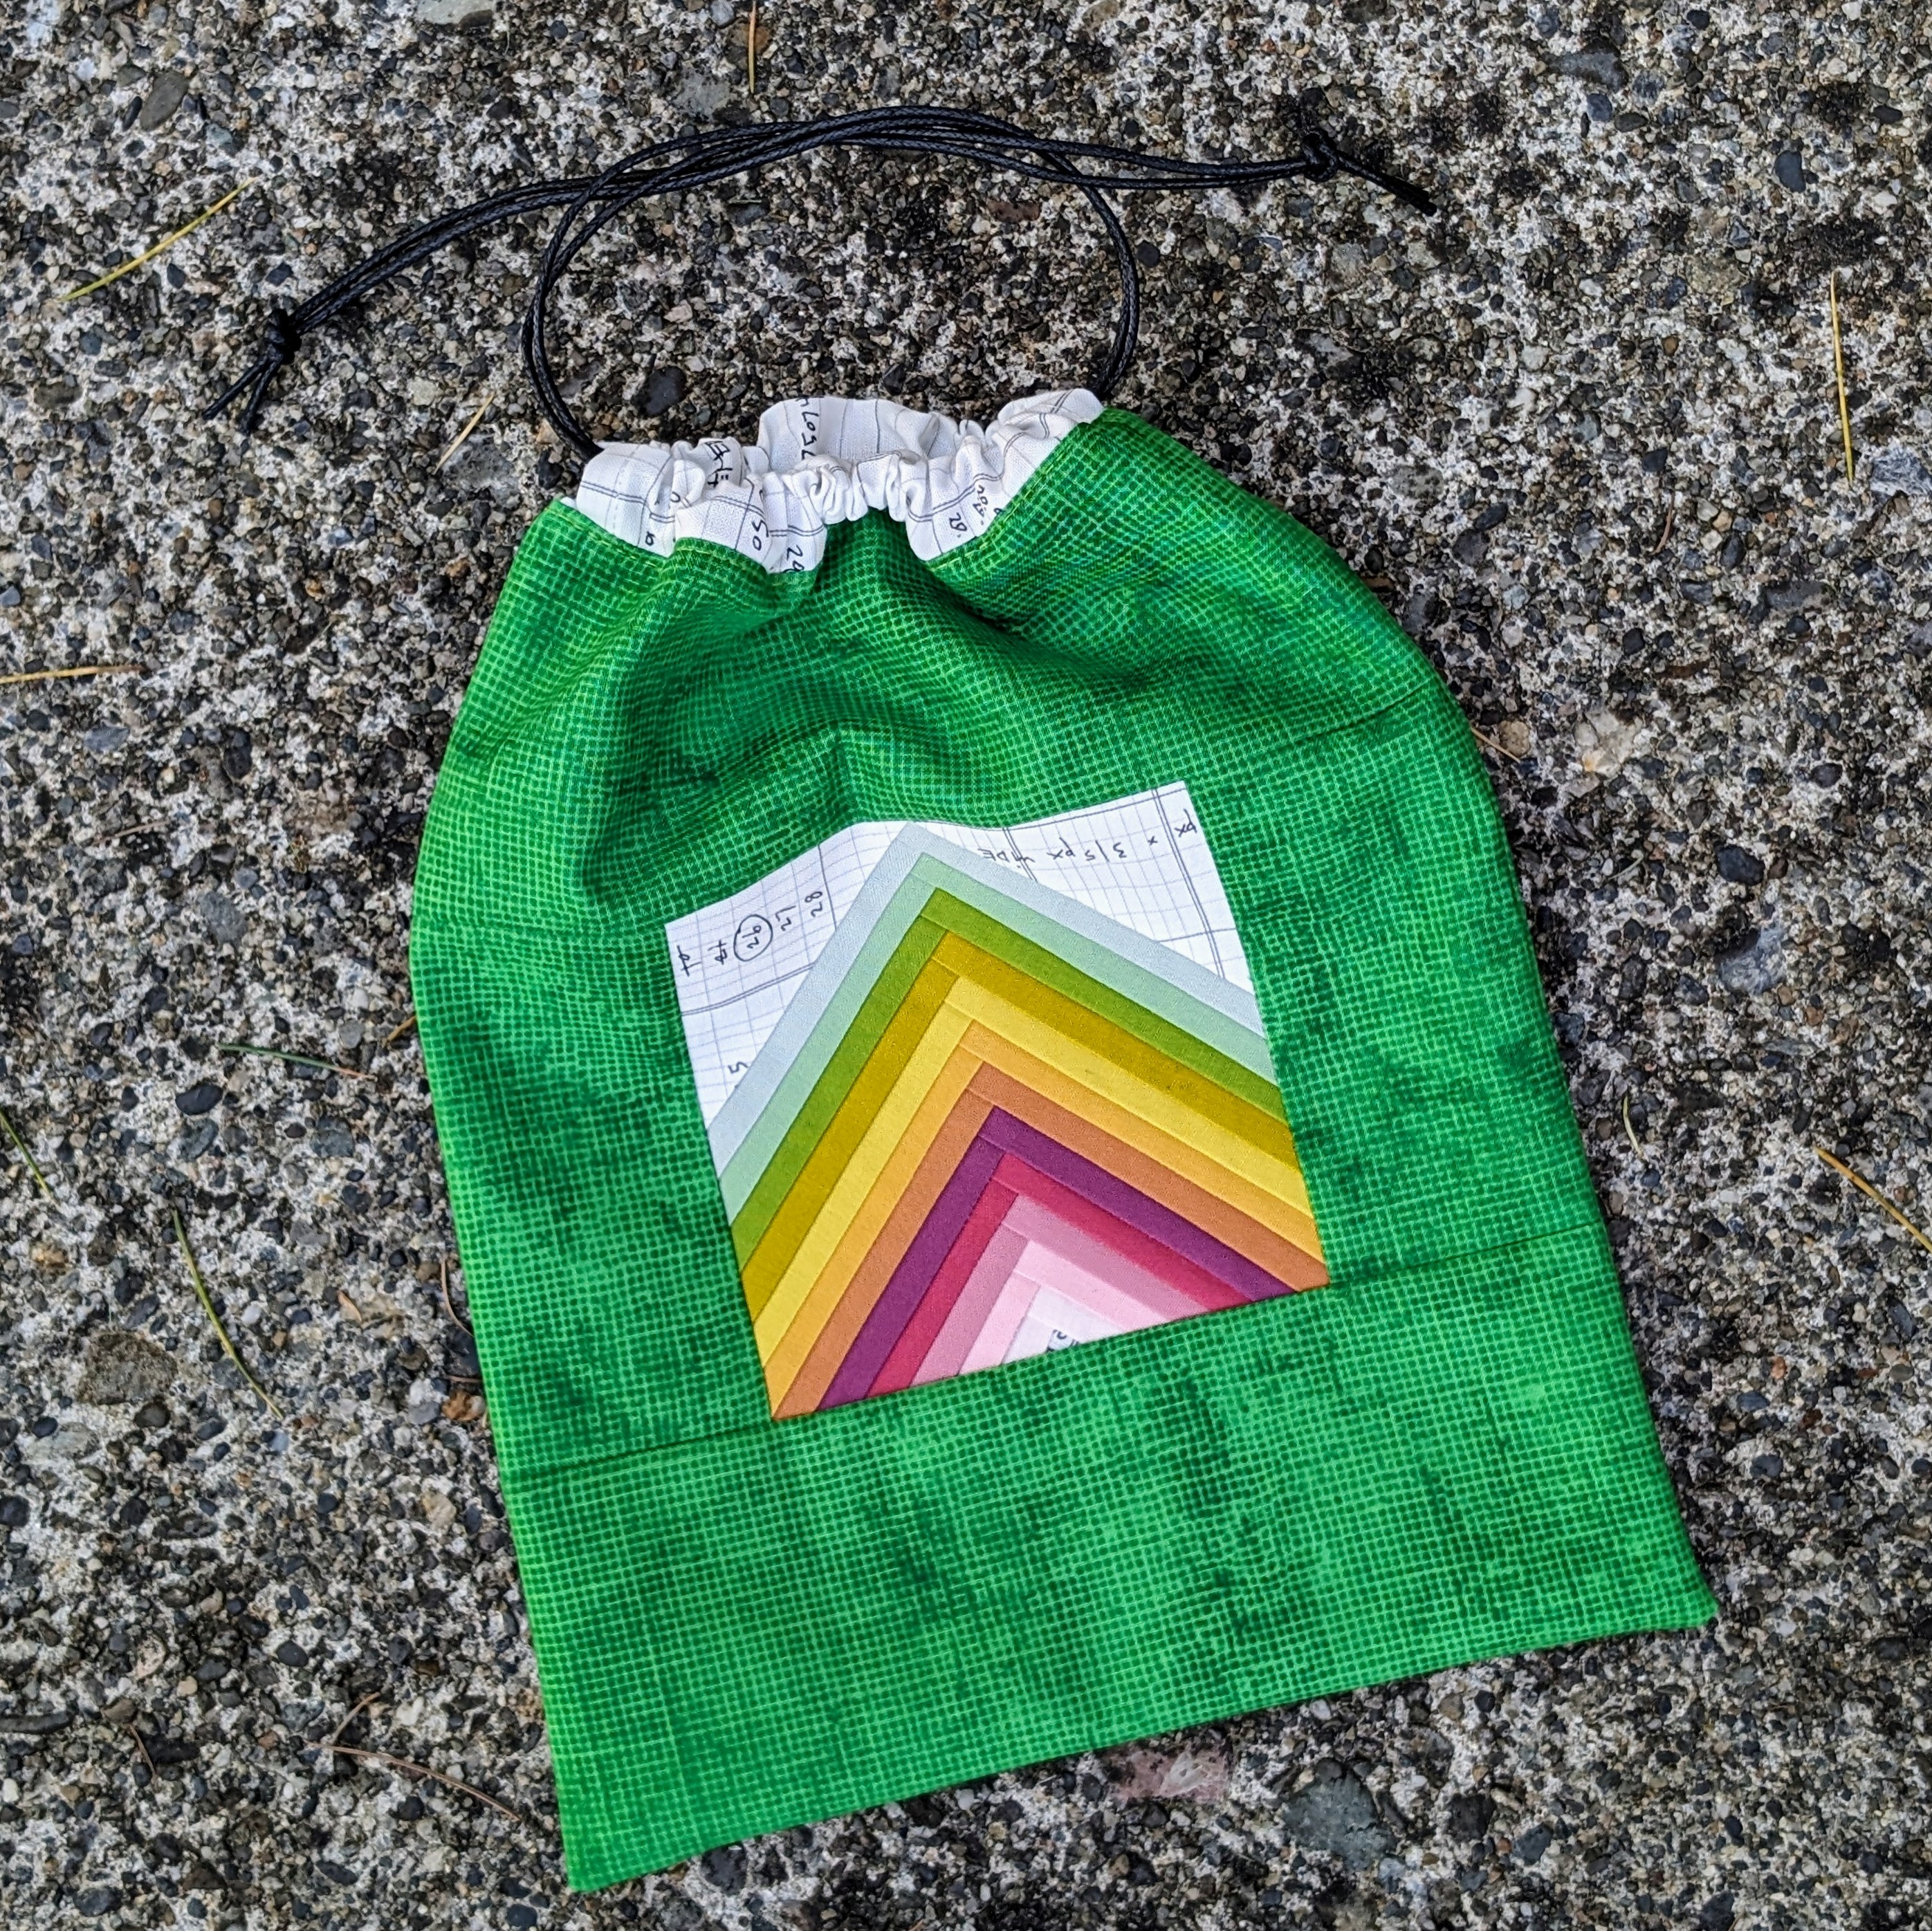
Back in 2022 when I joined the Mini Series Sew Along, I had in mind to use the 4,5" unfinished blocks as focals for a collection of small drawstring gift bags, and I've finally made it happen. 16 in all - 15 sew along blocks + my first chevron block that was the wrong size. What a variety, right?

For the majority of the bags, I made use of stashed prints, though a few were made of solids - one each of Essex cotton-linen blend, textured cotton, and AG Kaleidoscope. It was my original intent to use Essex natural and quilt the exterior, like the first bag shown below; but when I realized I was low on that fabric, I figured why not use up some other stash?


The finished bags range from 6.5" wide x 8" tall to 8" x 10", all depending on the amount of a particular fabric I had.


The drawstring ties are a mix of 1/2" natural twill tape, which I purchased from Jeni Baker Patterns; 1/2" white twill tape purchased from Beyond Trim on etsy; and 2mm black waxed cord from Amazon. I always keep these options on hand for projects such as this.


It feels great to have that project finely completed, and a couple of the bags have already been gifted.... just as I'd hoped. I'm happy to have a stock of them, and I look forward to sharing more of them in the months ahead.


Wednesday, December 13, 2023

2023 Lined Drawstring Bag Sew Along

I had intended on making a bunch more fabric gift bags during Jeni's @jenib320 annual Lined Drawstring Bag Sew Along, but when I gathered what I already had in our stash (43! See them all here.), I settled on just two. 

First, I'd already begun working on a Simple Patchwork Drawstring Bag from Jeni's Expansion Pattern. It's a Project Bag size, with the exterior pieced from a Flurry Charm Pack Christmas Collection by Ruby Star Society that my daughter Rachel @snippetsofsweetness had tucked in my stocking last Christmas. I used 1/2" cotton twill tape for ties, accented with 3/4" beehive wooden beads purchased from In Color Order.

Then I had to try Jeni's new Peppermint Stripe Lined Drawstring Bag tutorial using red scraps. It's the Everything Bag size, and I think a super cute variation. For ties, I used 3/4" red and white twill tape, which I buy by the roll and keep on hand.

So those two satisfied my urge for this Christmas at least, though I know I'll be making more throughout the year to come. It's what we do. ;-)

Saturday, December 4, 2021

Newest Round of Giftbags

When Jeni Baker announced that her Lined Drawstring Bag Sew Along was back for another year, I ordered up some twill tap and beads (a first!) from her shop, and pulled out my stack of Christmas fabric. I did purchase one new piece of fabric - Skinny Stripe in Crimson from Between the Lines by RJR Studio. I had in mind to make one style of bag from Jeni's Expansion Pattern, and use the crimson stripe as the accent on each. So the body and linings of the bags would all be different, but the trim would be the same. And I love how that worked out!


I chose the Mini Accent Drawstring Bag, and made eight! I made one each of the CD, Snack, Project, Everything, and Laundry Bags, and three of the Artist Bags, so a full range of sizes. I kind of like this variation of Jeni's basic Lined Drawstring Bag because it maximizes the space in the bag. And it seemed to save time to make the same style bag in several sizes, as I didn't have to look back at the pattern so much. So win-win there.

There were two different ties that I used - a red striped twill (my 'normal') and then some 1/2" neutral cotton twill tape that I purchased from Jeni. I also made some fabric ties for the first time for one bag (see top right bag above), because that seemed the best option. 

And as I mentioned above, I used 3/4" Round Wooden Beads that I also purchased from Jeni. She had a great post on How to Customize Wooden Beads with Paint, Stain, and Dye. I chose the spray option (white paint + clear acrylic coating), making use of what hubby happened to have on hand. My novice process also included some wooden chopsticks to hold the beads, a vice to hold the chopsticks while I sprayed, and a piece of repurposed styrofoam to hold the chopsticks while the beads dried. I had intended to spray them all with the clear acrylic, but being unfamiliar with the garage work bench, I grabbed the can of white by mistake. Oops! So that's why I have a few white beads, but the rest have a clear finish as intended. Just for the record, once the white paint was dry, I sprayed them with the clear acrylic as well.

Anyway, they were a fun add-on for a change. I found that depending on the twill I used, some beads needed a knot on either end, while for some, one knot at the end was enough.

In addition to those coordinating bags, I also decided to make the simple patchwork variation from Jeni's Expansion Pattern. My daughter Rachel/@snippetsofsweetness sometimes sneaks charm packs into my Christmas stocking, and I had this mini of Kate Spain's Aurora which worked perfectly to  make an Everything Bag.

Soooo, we'll see if this big batch, along with bags from previous years, gets me through the gift-giving season. Even though our family reuses the bags we exchange, inevitably some are gifted to those who like to keep them, and rightly so! That means, of course, that every year, Rachel and I stock up on a few more bags. Also a good chance to add some new holiday fabric into the mix.

Monday, November 8, 2021

Giftwrap

It was so good to be able to gather with family last weekend and celebrate not one, but three upcoming birthdays! Some handmade giftwrapping was definitely in order.

First up was one of Jeni Baker/In Color Order's drawstring bags. I went for the Easy Going (Two Fabric) Drawstring Bag from her Lined Drawstring Bag Expansion Pattern. I used "WildField" from Wrenly, an oldie but goodie from Valori Wells, for the colorful exterior, and Cotton Couture Isle for the interior. If you've never made one of Jeni's bags, she's hosting a Lined Drawstring Bag Sew Along very soon. It would be the perfect time to try one!

Next up was a tutorial by Jeni that I had not tried before - one for Fabric Envelopes. In our family, on those occasions when a gift hasn't arrived yet or is too large to transport to the party, we've been known to make a personalized gift certificate. The larger Coupon Envelope was the perfect size for the certificate I'd printed up for hubby. I chose two coordinating Carolyn Friedlander prints, and it was super quick to sew up. Plus, choosing one of Carolyn's border fabrics added some really cool detail on the flap! 

Rather than install a snap this time, I just tied it up with a bow. Perfect.

And lastly, I used Svetlana Sotak/Sotak Handmade's Drawstring Bag tutorial, one I've used dozens of time. I found some darling sea-inspired fabric for this one from Birch Fabrics' Storybook 2 collection. I loved that the dotted print coordinated so well with the sea print, and was perfect for both the lining and casing.


So that was fun! Plus it was a nice diversion from the large quilt I've been quilting. Love those small projects for a quilt finish.

Friday, December 27, 2019

Other Small Makes

Looking back, I apparently started my pre-holiday sewing with a Pop Open Pouch, pattern by Aneela Hoey. I think I was really celebrating having finished my Modular quilt by trying a new pattern - something small and doable in a couple of hours. This pouch totally fit the bill, at 10" x 5"x 5", a great size and the pop-open design is really clever!


Fabric is all Carolyn Friedlander, which I love to pair for pouches.


And finished off with a leather pull and zipper tab, it became my new favorite and since I had the perfect use for it, I gifted it to myself. It's good to do that sometimes!


As always, I had ambitious plans for all the reusable fabric gift-bags I'd make. First were a handful using s.o.t.a.k handmade's drawstring bag tutorial, which I've made so many of, I have it memorized.


Then were a few using the Lined Drawstring Bag pattern + Expansion Pack from Jeni Baker. I especially love the new Mini Accent variation, like the two on either side of the basic bag below. Though they're all so great for gift-giving, and truth is I made a couple more that got used so quick I didn't get a photo.


Next up was a set of potholders that I hadn't planned until I saw Allison/@allisonehs post, inspired by a pattern in Modern Rainbow by Bryan House Quilts. They looked so perfect for what I needed, I stopped by my bookshelf for my copy of the book, then headed straight to my stash, where I happened across a "Strip-It Bundle" of Ombre Hand Dyes by Marcus Fabrics. It'd been there a while, obviously saved for this project. Made for someone who loves the ocean, the varying blues were just right. I loved them with that gray Essex, and quilted the potholders with straight lines.


I used the full width of the strips to piece backs for the potholders, and then found the ombre to be perfectly perfect for the binding.


On I went to make a sweet and small Wee Braw Bag, using Laura Cunningham's pattern, which I'd made a few times before, so I knew it would be enjoyable.


It's fun to pick out fabric for these, and I coordinated everything to go with that Rifle Paper Co. floral. Super sweet.


And finally, a Boxy Pouch, the original size in Pink Stitches' tutorial. Waxed Canvas is perfect for this pouch, in my humble opinion, and though I didn't get a photo, it's lined with a handsome print from Carolyn Friedlander's Instead. And again, a bit of leather lacing is the perfect finish.


So I think that catches you up on December's "special" sewing. Now I'll head to that WIP pile and see what else I need to finish up....

Friday, May 22, 2015

A Different Kind of Gift Bag

Daughter-dear is a master at fabric gift bags, so when it was her special day, I couldn't resist stitching one up for her. Rather than my typical draw-string bag, I went for the Big Patchwork Tote by Ayumi Mills/Pink Penguin from Krista Hennebury's book,  Make It, Take It: 16 Cute and Clever Projects to Sew with Friends. I had made the Little Patchwork Tote a while back, and knew it wouldn't hold Rachel's gift. But at 21" wide x 13 1/2" tall, I suspected the larger one would, plus I figured it would be very reusable as a tote.

This bag goes together very nicely, and even on the second go-round, the bottom panel came together like magic. I didn't think to get a photo of that, but it's clever construction. One added note, I chose to use Pellon PF101 Shape-Flex interfacing, rather than the fusible fleece or heavy interfacing suggested. Basically, I am just really fond of the woven Shape-Flex, though it obviously made a pretty lightweight, unstructured bag, which I like.


And dare I say, I could hardly go wrong mixing and matching my Cotton + Steel prints. I'm pretty sure Rachel was good with that too.

Monday, December 22, 2014

Bags and More Bags

Even before my post on Last-Minute Gift Wrap & Tags went live on Sew, Mama, Sew a few weeks ago, you most likely already knew I really like to make and use fabric gift bags. In Color Order's Lined Drawstring Bag has pretty much been my go-to bag ever since I first discovered it, but I needed something a little simpler for this Christmas.

I started off with the drawstring bag tutorial by s.o.t.a.k handmade, a bag I was already familiar with. I cut out 2 at a time, and then alternated the bag exterior and linings, using some Essex linen for the casings, and finishing with chevron twill tape and woven cotton trim as ties.

For some reason that little bit of Essex made me want to try something else, so I used a mini charm pack for a little patchwork to accent a super-sized linen bag. I went so far as using a layer of cotton batt in this one, and quilting it up. Definitely a heftier bag than my norm, but boy was it fun, and I do love linen and patchwork together, don't you?
During the time I was getting going on these bags, I saw the snowman insta-tutorial by beelori1 of Bee in My Bonnet, and I couldn't resist making one up. In my excitement, I forgot about the buttons down his front, but I thought he'd be fun on the front of a bag for grandgirl. I especially like the striped scarf I found for him, and was pretty successful with my second go at sketch-stitching for his face and arms.
Ready to try something else, I decided on John Q. Adams/quilt dad's Patchwork Stripe Bag tutorial from his book Pretty in Patchwork: Holidays, shared as a free tutorial recently on Sew, Mama, Sew. There's actually 3 different options in the tutorial, which is really great. As with my first pair of bags above, I cut out 2 at a time and just switched up the pieces. I find them pretty irresistible. One thing of note in John's pattern is you sew only 1 line for the casing, though the casing holes are 'normal' - just large enough for the ribbon. I was kinda confused about it at first, but look what a sweet effect it gives to the bags. I like it for a change.
After all these, the Trim-Tied Gift Bags I'd already made, plus the random fabric bags I had from last year, I still needed a few more. So it made sense to make them up using the 2 patterns I'd gotten pretty familiar with lately . . . quilt dad's on the left, and s.o.t.a.k handmade's on the right. Just 'plain,' they are both a pretty quick, but still satisfying, sew.
Oh yeah, and then I needed just one more - isn't that how it is? But I loved playing with this Hip Holiday line again!
I still have plenty of Christmasy fabric left, and in a perfect world, I'd get to making some for next year right after Christmas. There's always more to try, and I've been pinning plenty of tutorials on my Bags Pinterest board. But you can probably guess how that will go....so whatever. At least this year's gifts are in the bag.

Fabrics used: photos #1 & #4: A Merry Little Christmas by Zoe Pearn for Riley Blake, #2: Solstice by Kate Spain for Moda Fabrics with Essex linen blend, #3: Sunnyside by Kate Spain for Moda Fabrics, #5: Yonder Star by De Leon Design Group for Alexander Henry Fabrics (R) + Hip Holiday by Josephine Kimberling for blend (L), #6: Hip Holiday by Josephine Kimberling for blend. I failed to get a photo of the bag I made with the terrific Holiday Socks by Michael Miller.

Monday, November 24, 2014

Trim-Tied Gift Bag


This little gift bag idea has been on my mind for a while, and with the holidays coming up, I thought now was a perfect time to finally get a tutorial written. So without further ado, here's the Trim-Tied Gift Bag.

Supplies needed: 
  • 1 fat-quarter non-directional linen-blend fabric, or a piece measuring 8"x21"
  • 1 1/4 yd 3/4" twill tape

This tutorial makes a bag measuring 3 1/2"x4"x8" when fully open.

1. Fold an 8"x21" piece of fabric width-wise,  wrong sides together. Place fold nearest you. Fabric should now measure 8"x10 1/2". Using a removable marking pen, mark parallel lines 2" from each side. Flip fabric over and repeat on the other side.

2. On one side, mark 1 3/4" squares in bottom corners. 

3. Using fabric scissors, carefully cut away bottom corners, leaving center fold intact.

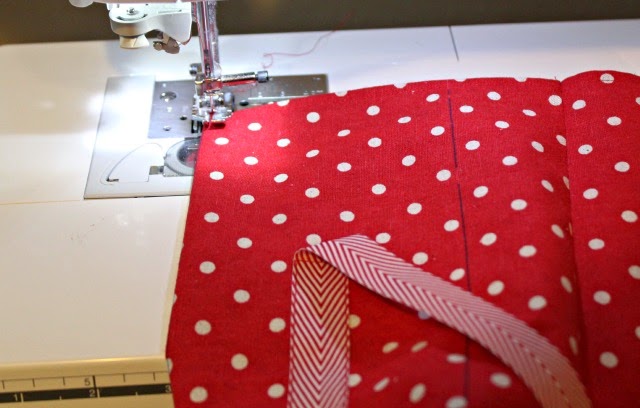
4. Open up fabric and lay wrong-side down on table. Find center of ribbon length and place on fold of fabric. Lay ribbon down center of bag, pinning about 4" from each end. If needed, use fabric glue to hold ribbon in place while you sew, or more pins. Stitching 1/8" from ribbon edges, sew ribbon onto bag fabric, overlapping a few stitches at the end to secure.

5. Take your piece to the ironing board, and double-fold each of the ends towards the back side 1/4", keeping ribbon ends out of the way. Stitching close to each edge, make a narrow hem on each end.

6. Now fold bag right-sides together, and sew side seams using 1/4" seams. Finger-press seams open.

7. Make gussets on each bottom corner by bringing seam to the fold, right sides together. Because of the seams you have already sewn, they won't match up 100%, but very close. Stitch 1/4" seam across each corner.

8. Turn bag right-side out, and here is what you have. Almost done!

9. Folding along 1 marked line on bag front, stitch 1/8" from edge beginning at the top of the bag, and sewing just to the corner where the side and bottom meet. (An alternate suggestion would be to press on these lines prior to stitching them.)
 It can help to place a pin where you should stop, being careful not to sew directly on the pin.

10. Leaving your needle down, remove pin and raise your foot and pivot so you can continue sewing along the bottom of the bag (along the front/back, not a side where the seams are), to the next corner, then again folding on a marked line, back up to the bag top. Be sure and secure your stitching at beginning and end. (Note that when you are sewing along the bottom of the bag, there is no marking line, but the distance is so short, simply folding it is guide enough.) Repeat on the opposite side, and your bag is done!
Thanks to my friend Sharon/SharonBinWA (smbrendle on Ig), who tested my pattern and made the bag above on very short notice!

This unlined bag would also make a fine wine bottle bag when taking a hostess gift. Because heights of bottles differ, I'd suggest cutting your fabric about 6" longer than the height of your bottle or 20-22" if you don't have a particular bottle in mind. Other than your trim needing to be longer, all other dimensions and instructions would remain the same.

All fabric used in sample unlined bags is Moda Linen Mochi Dot by Momo (70% cotton/30% linen). Canvas or home dec would be other options. I source 3/4" chevron twill tape from FreshModernFabric, who has a nice variety of colors and will gladly cut continuous lengths. I've ordered some of the 5/8" Striped Edge Woven Cotton Trim also to have on hand as an option.

And for those of you who may not have access to the linen blends, or would rather use 100% quilting cottons and make a lined bag, I've tested that out for you too.
Here's what you'll need to do differently for the lined bag:
  • Cut 2 pieces of fabric, both 8"x21" - 1 for the exterior and 1 for the lining. Mark right side of outer fabric per step #1.
  • Follow steps #2 and #3 for both outer fabric and lining.
  • Follow step #4 as written, on the exterior only.
  • Ignore step #5 entirely.
  • Follow step #6 EXCEPT on one lining seam, leave a hole about 4" long, securing your stitches well on either side of it. 
  • Follow step #7 for both exterior fabric and lining.
  • Turn exterior fabric right-side out and nestle into lining which is wrong-side out. Line up raw edges of tops at side seams and pin. Pin a few more times as needed to keep top edges lined up. Stitched along entire top edge.
  • Pull entire bag through the hole you left in the side lining so entire bag is right-side out. Hand or machine-stitch the opening closed.
  • Nestle lining into bag, pushing corners into place. Press top edge nice and neat, and top-stitch closely to the edge along the entire perimeter.
  • Follow steps #9 and #10 as written. I found with the lining snug and neat in the bag, it was easily caught in this narrow stitching. 
So enjoy - whatever style you choose to make. Please post any finished bags in my Quilting with A Quilter's Table flickr group so we all can see!

Linking up with Fabric Tuesday.