Showing posts with label sashiko. Show all posts

Tuesday, June 20, 2023

Sashiko Runner

Well it's been a while since I participated in 24 Days of Sashiko with Kazue @sashiko.lab, but finally, I pulled my sashiko-stitched runner out and got it finished! 


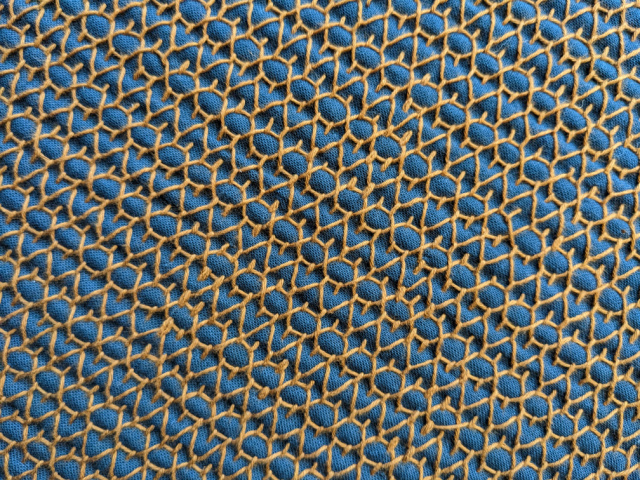
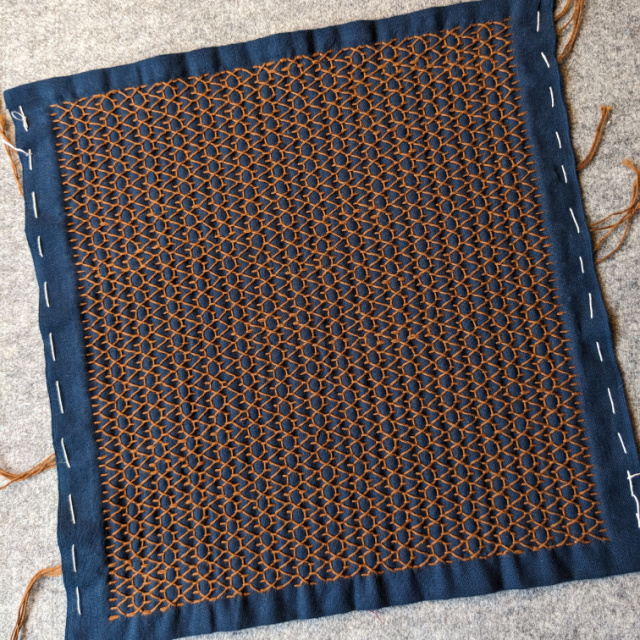
Just as a reminder, I had used Kona Windsor for the base cloth and four strands of Aurifloss 2390 [Cinnamon Toast!] for the stitching. For backing fabric, I was happy to find some of Carolyn Friedlander's Harriot Yarn Dyed in Blueprint in my stash. It has a really soft hand that seemed to go well with the stitched top. Note that the true colors are somewhere between the two photos above and below. It's been hard to get the lighting just right!

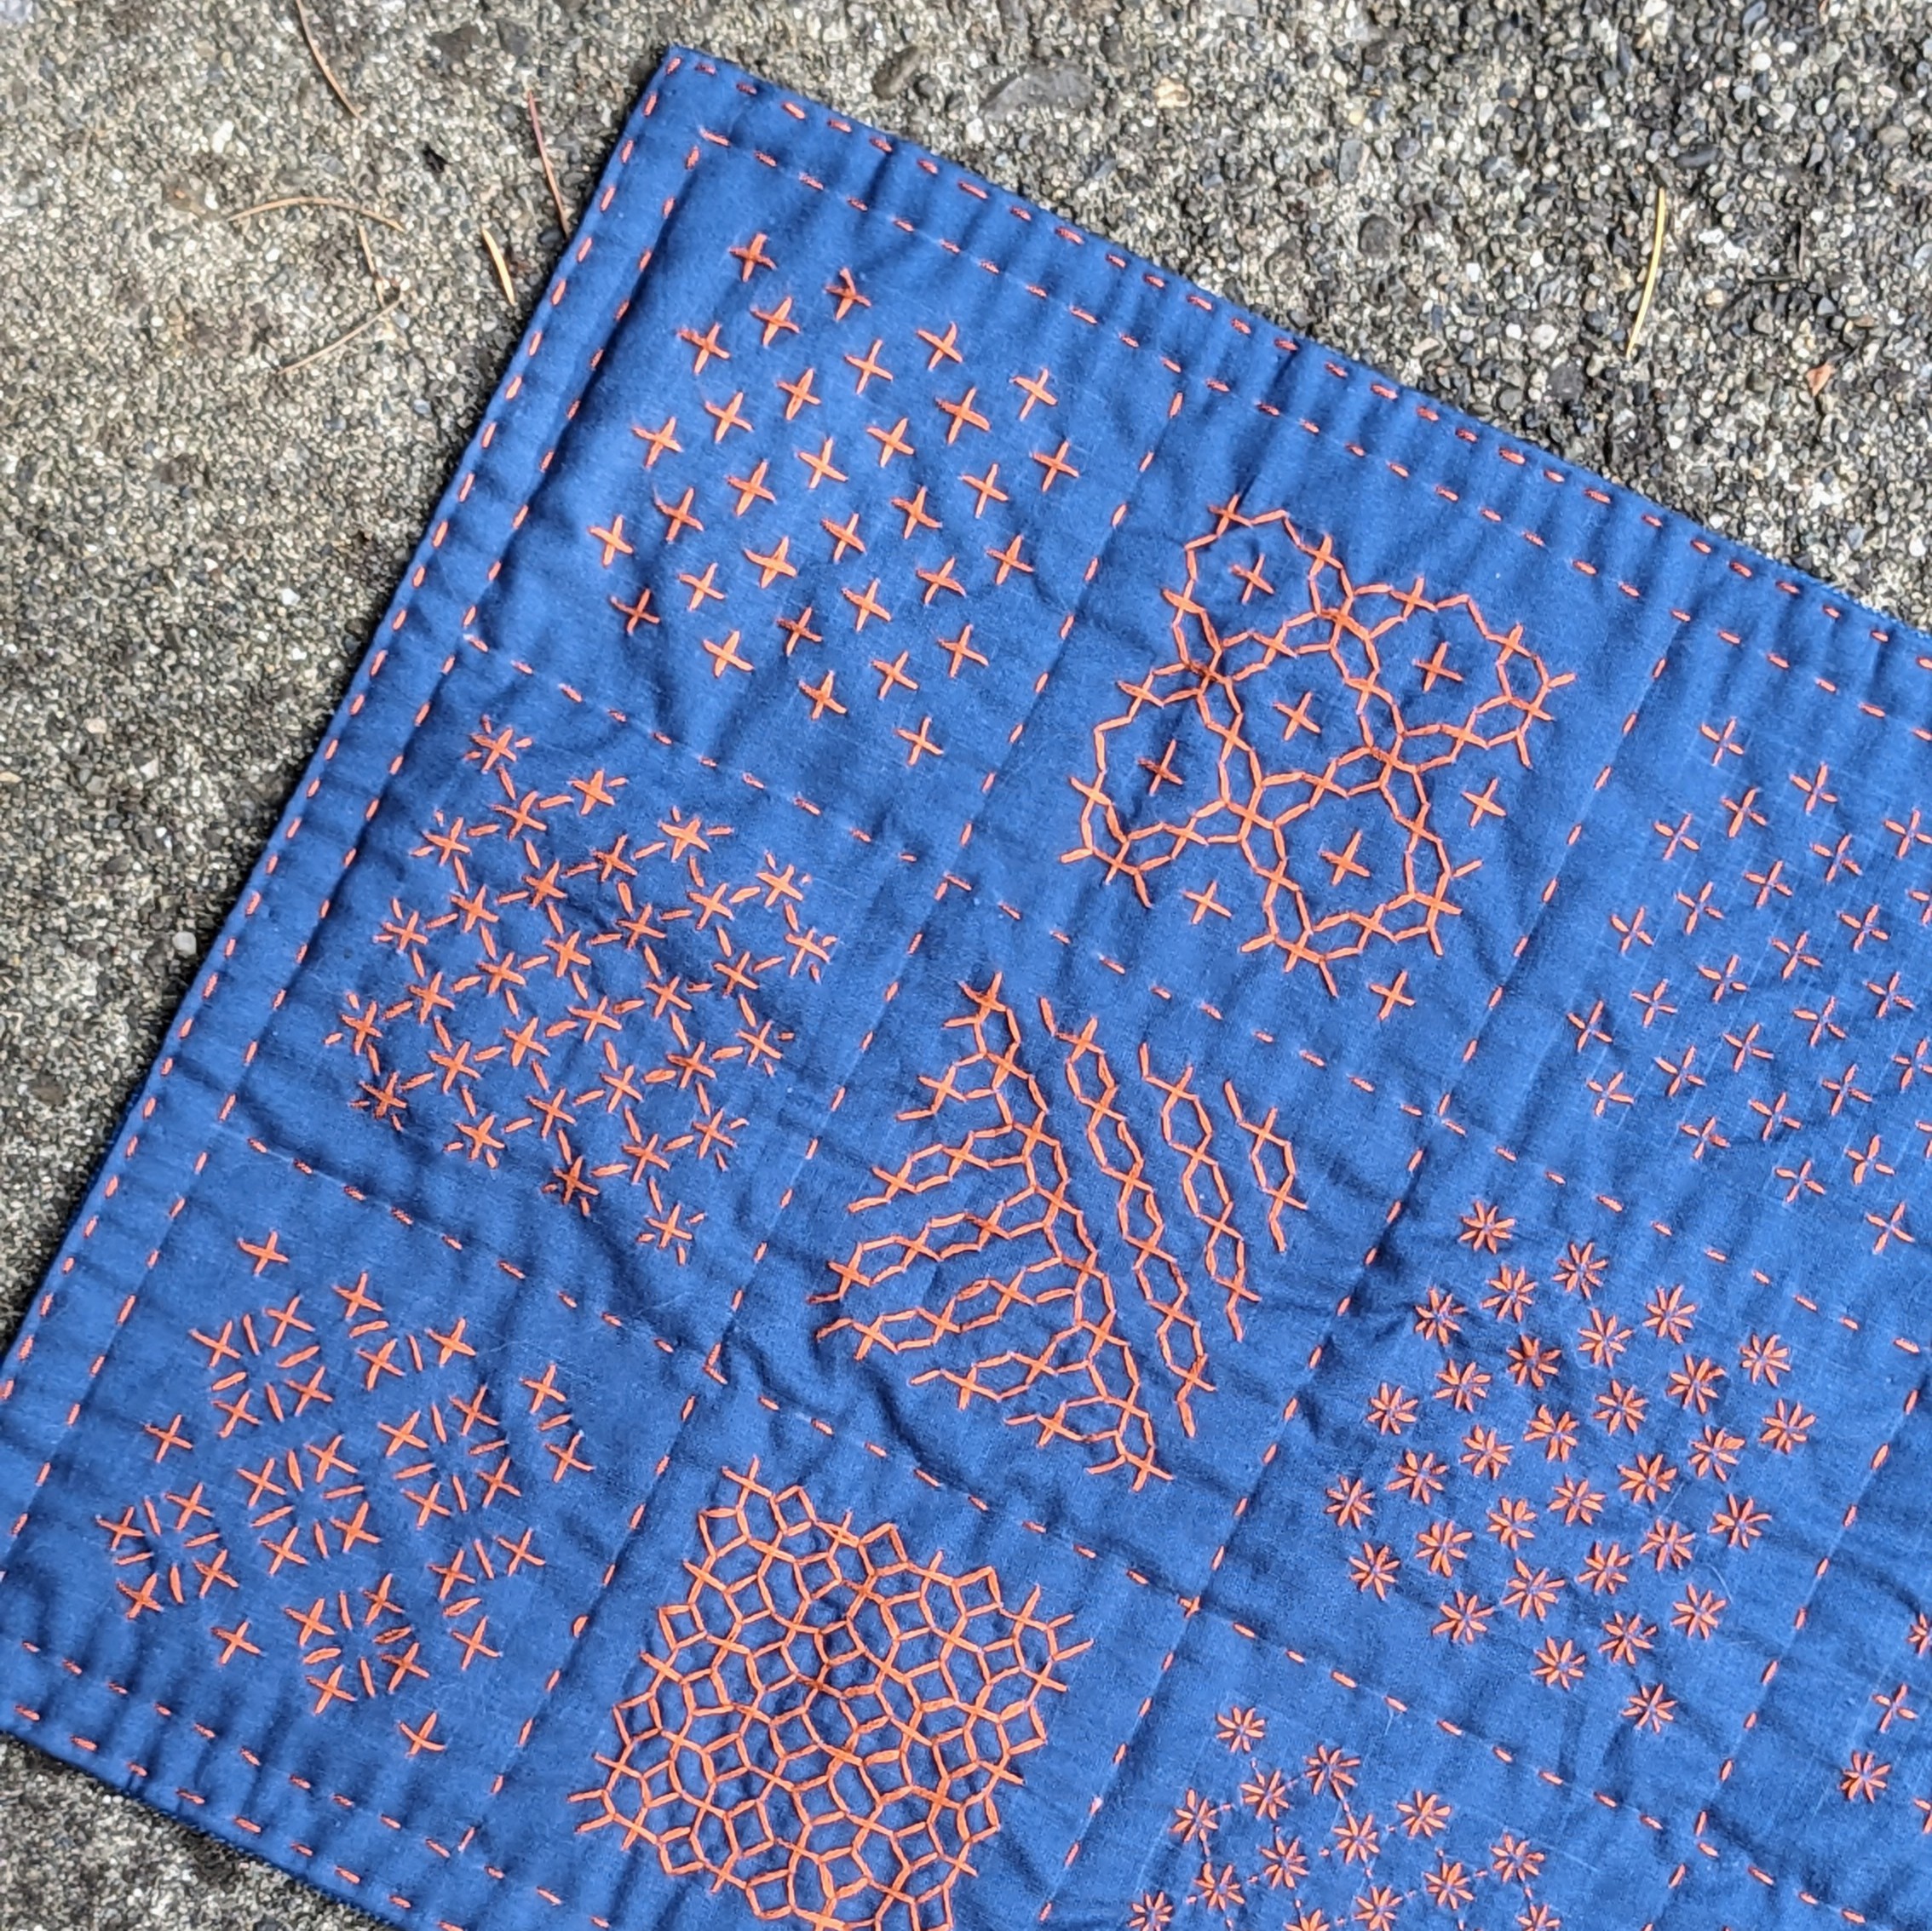
In retrospect, I didn't really need to use batting, but I did - Quilter's Dream Request. It's lightweight and low loft, developed especially for hand-quilting. Then I used the same Cinnamon Toast floss to stitch running stitches between each square of sashiko. 


I opted for no binding, per se, rather turned all raw edges in about 1/2" and then stitched around all the edges with a running or straight stitch. The finished runner measures 13" x 33", and I'm happy to have it done, basically a sampler of all the sashiko stitches I learned. 

Thursday, January 12, 2023

An Adventure in Sashiko

Well, I hopped on this project train at a time when I was swamped with other things, but when I saw it I really loved it, so there's that. I'd recently finished the 24 Days of Sashiko, when I saw the hostess, Kazue @sashiko.lab post about her upcoming Coffee Fukin Club. What I knew was that the stitching would be done on navy sashiko fabric with brown sashiko thread. Not sooo different from what I'd just finished except with authentic supplies rather than quilter's cotton and embroidery floss. And I wanted to try it. So knowing I'd get a late start, I went ahead and ordered a supply kit from Japan.

What I learned from Kazue is that a Coffee fukin is a Hanafukin  - a sashiko stitched kitchen cloth. A few years earlier, she made one for her husband and it’s been his favorite ever since. He always uses it when making coffee and that’s why she calls it a “coffee fukin.” It is woven with sashiko patterns on both(!) sides, which sounded really intriguing. 

So I finally got started stitching at the end of the year, and it began with some pretty routine base stitches. 

Once those were done, we began weaving on the back of the cloth with the blunt end of the needle. For being the back, it sure was beautiful! Basically, we were weaving with two different stitches. After I was done, I saw a stitch that was done incorrectly, but I left it since I couldn't find it next time I looked! Just proves this piece was handstitched, right?
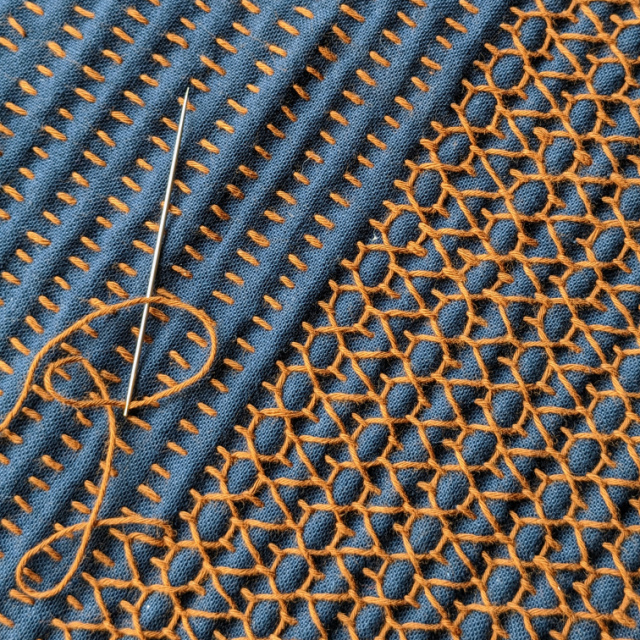
So the weaving on the front side took a little longer, considering we were using four different weaving patterns. I definitely had to follow the chart to see what pattern to stitch next as I moved across the cloth, but each pattern became very familiar, which made it relaxing to stitch.

Though I wanted to note that there was a finicky part of this stitching, and it was hiding the thread ends. Near the edges, you could hide knots between the fabric layers, but in the middle, you needed to double-stitch on the back side. This became especially tricky when working on the front. It wasn't always easy to work your needle between layers without taking stitches where you didn't want them. Obviuosly it was manageable, but I always knew it would take a little extra time to finish with a length of thread and begin a new one.


Once the weaving was all done on both sides, threads got trimmed, and the perimemiter was stitched to secure the edges. Kazue gave us a good dozen different decorative stitch options, so I chose one that wasn't too time-consuming, but gave the piece a nice finish.


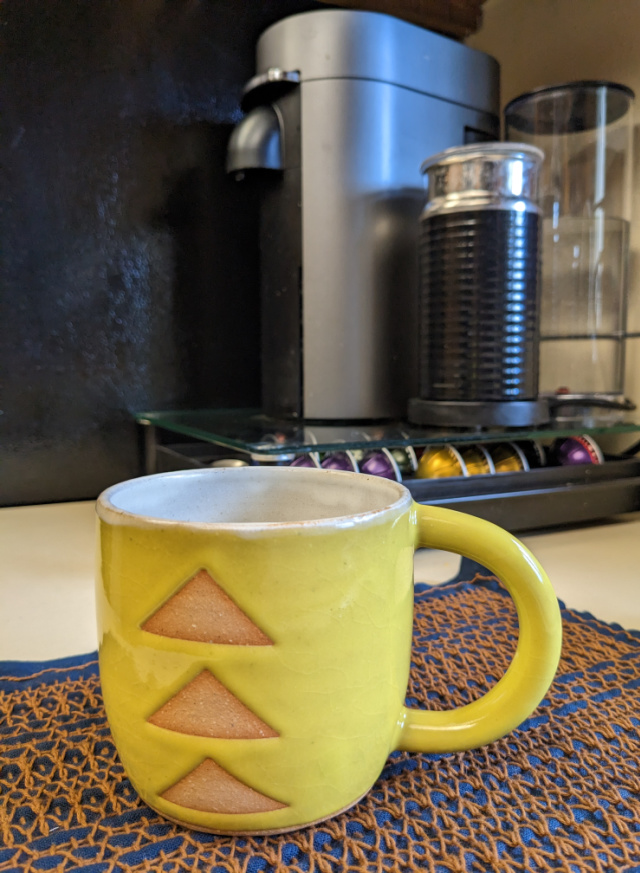
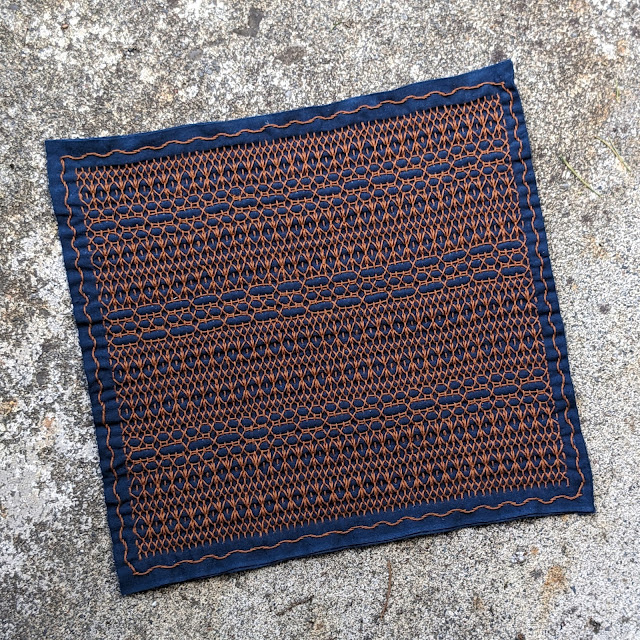
So ta da! I've made my first Hanafukin! 12" square, it has a wonderfully soft texture! I decided I'm going to use it more as a mat than a dish cloth. After I snapped the photo below, I placed it under all the coffee-making apparatus you see. If fits on top of the glass almost perfectly, and already, I'm enjoying seeing it there - beautiful but functional - as I make my morning coffee.
I'm pretty amazed that such simple stitching can create such beauty. I'm really glad I took advantage of the workshop Kazue offered, as I thoroughly enjoyed the stitching experience as well as creating this unique piece for use in our home.
Monday, November 21, 2022

All 24 Days of Sashiko

So I started 24 Days of Sashiko, hosted by Sashiko.Lab, back on October 24, and I kept up just fine with the daily prompts until I went off to Houston and Quilt Festival for a few days. Once I got back, it took me a day or two to get back with the program, but I worked hard to catch up, and finished stitching the final prompt on time on November 16. Getting photos was another thing entirely, so there went my initial plan of posting daily finishes along with the Japanese names of each stitch. 


In these two photos, the lower-left in the photo below was our first design; the upper-right in the photo above was the final design. You can see where several designs are variations of each other.

I really enjoyed learning some new sashiko stitches. My use of Kona Windsor for the base cloth made things a tad harder on myself, so next time I'll try to use real sashiko cloth. But I think the Aurifloss 2390 [Cinnamon Toast!] worked well, and for the record, I used four strands for all the stitching.

I'm thinking this piece might become a table runner, though I'll set it aside for a bit until I'm ready to finish it. Other projects are calling to me, but I know I'll enjoy completing it when the time is right.

Tuesday, October 25, 2022

24 Days of Sashiko

My daughter, Rachel, DM'd me over the weekend about "24 Days of Sashiko" with sashiko.lab, so of course I went to take a look and was immediately intrigued. Did I need another handstitching project right now, with my bow tie quilt and zen with Jen both far from complete? Of course not. But it sounded like a great opportunity to learn more sashiko, so why not? 


In fact before I even started stitching, I learned that we'd be doing the Hitomezashi method, where you use a grid as a guide to stitch. Whereas with the Moyozashi method, the pattern itself needs to be drawn on the fabric.


So yes, that means I needed to get started marking some fabric! Since I just found out about the stitch along a couple of days prior to its start, I'm using supplies I have on hand - Kona Windsor for the base cloth, and Aurifloss 2390 [Cinnamon Toast!] for thread. A little unexpected, but when I saw Kazue say she loves stitching in brown and navy, and I saw her sample, I was smitten. Besides, I love brown, and it feels unique. Definitely a different feel from my previous couple of sashiko projectsAnyway, each day's grid is made of 1 cm. or approximately 3/8" squares, with each day's stitching fitting within the 8 cm. grid. So here's my first stitching!

Day 1: Basic pattern-1 - The first pattern is Jyuji-sashi. Jyuji represents 'cross' in Japanese, so we will stitch crosses in some of the squares.


After a little experimentation, I'm stitching with four strands of the Aurifil floss. I'm loving the brown on the blue, and looking forward to stitching more designs. 

Monday, July 13, 2020

Stitch Club :: Sashiko

After exploring kantha-stitching for the first month of Alison Glass' Stitch Club, I was pretty excited to see what was up next. Sashiko! Something I have admired for sure but never ever dabbled with. I originally had three projects in mind, but ended up settling on just two, omitting the final one where I would actually mark a design on fabric.

So first, I used Alison's Observatory Pulsar in Meteorite, which actually has +s printed right on it. I chose the color I did as it was dark blue and off-white, a clear nod to traditional sashiko. I stitched right over the +s with #8 perle cotton, not traditional, but great for a first try. The design is called a modified Asagao, and I purposely stitched on an oblong piece of fabric - about 6 1/2" x 18" because I had a tentative final project in mind. And just for the record, I backed it with a length of Kona cotton for my stitching.


I really enjoyed the stitching! I suspect the distance between the +s was larger than might be traditional, and the finished stitching is somewhat loose, but it really was a fun way to go.


So having recently made a Modern Japanese Rice Bag using the pattern by @kzstevens, I thought that would be a perfect pattern to use with my very first sashiko piece. I forewent the boro patches and stitching and just let my saskiko be the focal point.


A favorite detail of this bag are the drawstring casings which are especially fun with a mix of fabrics.


And I was so happy that I had enough left of the Yoshiko Jinzenji fabric that I used in the first bag that I could use it for a bit of the exterior plus the lining of this new bag. The piece is Rose Petals - neutrals on gray. "arbre Rose" translated means "pink tree" in English.


For my second Sashiko project, I chose to purchase an all-over pattern printed on 100% cotton Sashiko cloth from a Japanese company. The one I chose was 12" square with a Kaku-Shippo design. I used an off-white Japanese sashiko cotton thread that I purchased from snuggly monkey with Tulip long sashiko needles. I enjoyed stitching this piece very very much.


Once complete, I chose a simple Table Mat pattern from Simple Sashiko by Susan Briscoe.


I used Essex Linen in Ivory for the backing, as it pretty much matched the thread I used. What drew me to this pattern, besides its simplicity and being something I would actually use, was the way the 'backing' peeks out on the sides by just 1/8", and is secured by hand-stitching. Something about that little detail really 'fit' for me.


So I don't expect that Sashiko will be my go-to stitching going forward, but I was more than happy to give it a try.


If you missed my June Stitch Club project, you'll find it here.