Showing posts with label waxed canvas. Show all posts

Tuesday, August 20, 2019

About Waxed Canvas

Early last year, I shared a guest post at Diary of a Quilter all about Sewing with Waxed Canvas. Now that some time has passed, Amy graciously ok'd me to 'bring it home' as they say, and share the post here on A Quilter's Table. 

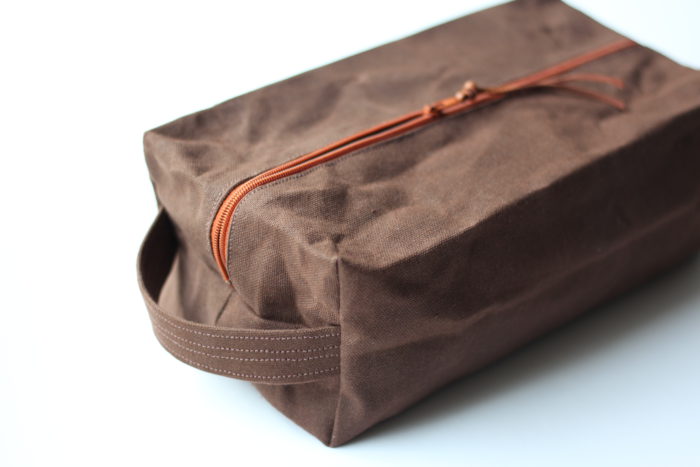
I’d been eyeing waxed canvas for a while, admiring everything I’d seen made with it. I seriously loved the look of it. The first item I made was a travel bag for my husband. One day he started telling me about how he needed a new one, and I instinctively declared, “Wait! I’ll make you one!” You know us creative types. We think we need to make everything! Well in this case, it was the perfect chance to try my hand with waxed canvas. It was large enough not to be too fussy, which is always great when you try something new.


What is Waxed Canvas?
Waxed canvas is cotton infused with a paraffin or natural beeswax based wax, woven into or applied to the cloth. The waxing process adds durability and a water-resistance to the fabric. It’s got a casual, rugged look and it’s easy to sew.


Specifics
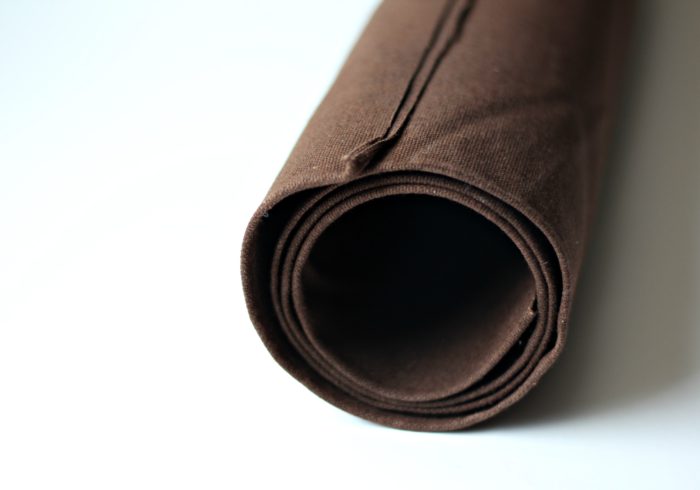
I used a 10 oz. canvas for all the projects I’ve made. It’s a little stiff, but softens up with use. It has a leather-look, and I’ve found that it substitutes well for it. Working with it distresses it, and personally, I think that just adds to the appeal. It’s easier to handle than it looks. Yes, it’s stiffer than quilting cotton by a long shot, but not so much that it’s difficult to handle.
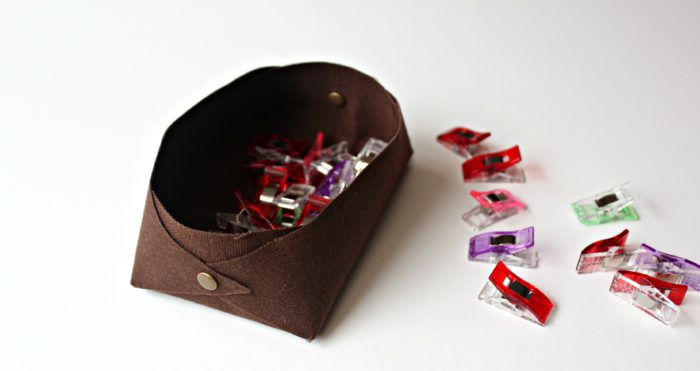

Basket pattern from Beyond Cotton by Krista Fleckenstein

Creating with It
  • This is a perfect use for wonder clips rather than pins to prevent leaving pin marks.
  • A standard sewing foot is fine.
  • Use a denim needle – like a 100/16.
  • Heavy-duty thread is recommended, though I found it worked well to use regular thread in the bobbin.
  • Use a longer stitch length – 3.0.
  • If you need to interface your project, interface the lining, not the canvas.
  • To mark your fabric, use a Hera marker, chopstick, or even the blunt end of a crochet hook.
  • Obvious or not, you can’t just use your iron to press seams open. But good news – finger pressing works great! If you really feel the need to press, use medium heat and a pressing cloth or clapper.
  • If you need a sharp crease, try using a bone folder.
  • Use a hair dryer to make the canvas more pliable or to remove unwanted creases or wrinkles.
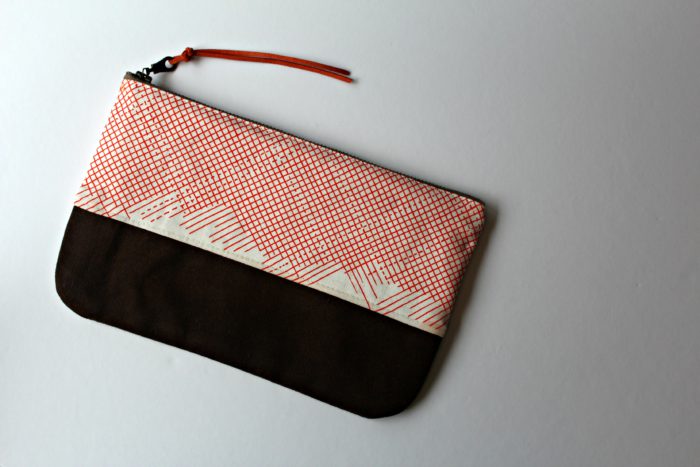
“Leather” Bottom Pouch pattern from Beyond Cotton

Fabric care
Don’t wash or dry-clean waxed canvas fabric. Try spot-cleaning or a stiff brush. Mine came in a roll and that’s a good way to store it to prevent unwanted creases.


I hope this all gives you a helpful introduction to using waxed canvas in your own projects. I purchased mine from ALFrancesTextiles on Etsy, and I’d highly recommend them due to their fine product and excellent service. By the way, one yard of the canvas measures a generous 60″ x 36″, so there’s a good chance there will be plenty to make several projects.... which is why all of mine so far have been brown!

You can read a little more about the above projects here. I highly recommend giving waxed canvas a try. In fact I need to order more and see what else I can do with it!

Wednesday, February 14, 2018

The Nitty Gritty

So the projects I made from waxed canvas for my guest post at Diary of a Quilter needed a post of their own. I gotta tell you, I really enjoyed this little foray into experimenting with a new substrate

One of my fortunate discoveries was how well the canvas substitutes for leather. I'd made the Leather Bottom Pouch pattern from Beyond Cotton by Krista Fleckenstein twice before in a class with her, and though I totally love them, I haven't gotten brave enough to go shopping for leather to make more. So the fact that the canvas worked nicely for the pouch's bottom section was good to know!


The same was true for the Basket pattern, also from Beyond Cotton. Seriously, this little basket took about 10 minutes to make - just cutting out the template and popping on a couple of rivets. I've been using it nearly daily for my wonder clips, and it's holding up really well. I love that it's soft but sturdy. May just need to try the larger version one of these days.


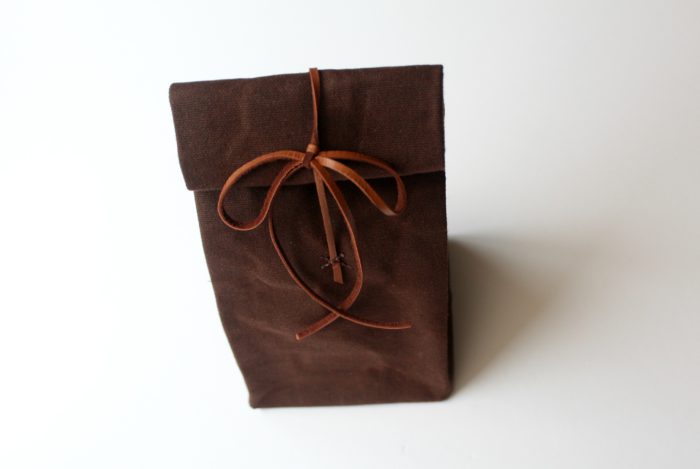
The Canvas and Leather Lunch Bag, a tutorial by Pretty Prudent, actually was intended for waxed canvas, and went together really well. I found it to be smaller than an average lunch sack, but that doesn't mean it's not as cute as can be, and I really love the addition of the leather lacing for a closure. I can see this as a fun gift-wrapping option.


After all that, and the success of the Boxy Pouch made from Cara/Pink Stitches' tutorial, I couldn't resist making a couple more - one each for my son and son-in-law. The guys in my family don't get as many hand-mades as the gals, so it was nice to have a project to make especially for them.


So I think that's enough of that little diversion for now, but I have no doubt I'll be on the watch for more projects to make with waxed canvas. And as a reminder, click here to read my tips for working with it - just good to know before you start in.

Wednesday, January 31, 2018

Creating with Waxed Canvas

When Amy/Diary of A Quilter invited me to guest post on her blog, I immediately thought of my new obsession, waxed canvas. You might remember that I tried it for the first time in December when I made hubby a new travel bag. Well since then, I've tried several other projects, and am more smitten with this material than ever.

Clockwise from upper left: 
"Leather" Bottom Pouch pattern from Beyond Cotton by Krista Fleckenstein, Basket pattern from Beyond CottonBoxy Pouch tutorial from Cara of Pink StitchesCanvas and Leather Lunch Bag tutorial by Pretty Prudent

Please hop on over to Amy's today for my tips and to see if waxed canvas isn't something you'd like to incorporate into your own sewing!